Firstly you will need to install Ninja Forms which can be done through the plugin manager, simply navigate to Dashboard -> Plugins -> Add New and search for ‘Ninja Forms’. The first result should be the Ninja Forms plugin and will look like this:

Click ‘Install Now’ and then activate, you’ve now installed Ninja Forms and will have a ‘Forms’ section within your admin menu which can be used to create your Forms and monitor ‘submissions’ to those forms. A ‘Contact Us’ form is automatically generated when Ninja Forms is activated which you can use for your waitlists if preferred, in this example, we will create our own form specifically for capturing details of users wanting to be added to the waitlist.
Within the forms section click the ‘Add New’ menu item or the ‘Add New Form’ button at the top of the page:

You can now generate a new form based on one of the templates available within Ninja Forms or just add your own fields to your own form. Usually, you will want at least the First Name, Last Name and Email fields within your form but you may also request additional details, we recommend including two hidden fields, one for the event name and the other for the event id so that you can easily identify which event the submission is for. Here is an example of creating a custom form with the above details:
So now you have a form your registrants can use to show interest in your events when they are sold out, we need a way to display it on the event details which is where the custom function mentioned above comes in:
You can add that function to your themes functions.php file or create a Custom Functions Plugin and place it within that. When using the function the ID of the correct form needs to be set, the form above highlights its id was 6, so we need to change
$ninja_forms_id = 1;
to
$ninja_forms_id = 6;
however, your ID may be different so be sure to use the correct number for your form.
The end result should look something like this:

When a user submits their details for the event they show up in the submissions section with the Event Name and Event ID populated with the events details so you know what the submission is for:
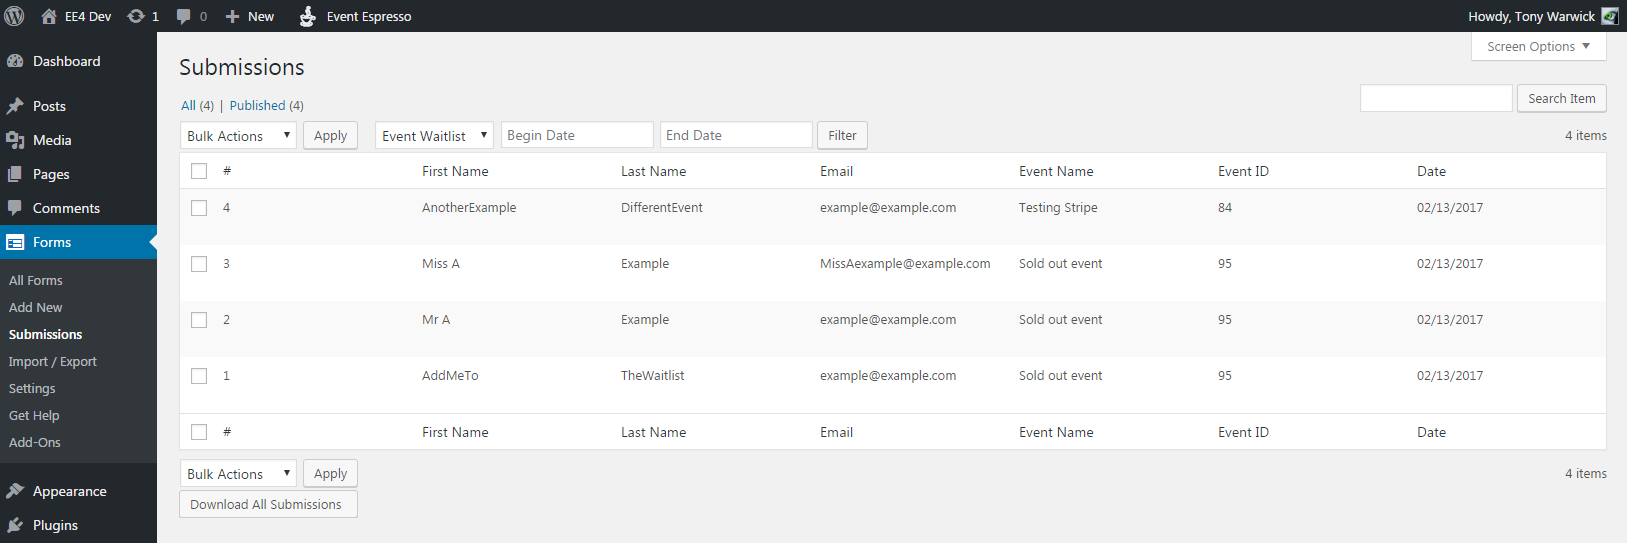
If you can not see those fields check they are enabled within the screen options at the top of the page.
You can now capture any details from users interested in your sold out events, view their submissions and either manually add them to the event if space becomes available or send them details of another similar event to see if they would like to register onto that.