In the case that you have an event at a venue with assigned seating, for example a performing art building, or tables at a gala, you can use the Ticket Selector that’s built into Event Espresso 4 to set up a simple allocated seating selector. Event Espresso 4 is not built for complex seating charts or seat assignments, but it may work well for you in a simple situation.
To start, you’ll need a diagram of your venue’s seating sections. A png, jpeg, or gif formatted image usually works best. You can upload and add the diagram to your Event’s description field.
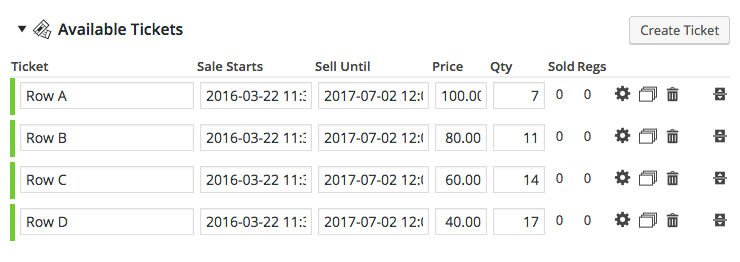
Then you set up the ticket selector to show a ticket type for each row and or section. In this example, we have 4 rows. Each row has its own unique label, price, and quantity. This way people can choose the location that meets their needs at the price they want.
That’s all! The finished ticket selector with the diagram looks like this:

You can view the demo here.
For more more complex assigned seating we recommend https://seats.io.