EventEspresso.com just got a fresh makeover; enjoy the new brew! ☕️
EventEspresso.com just got a fresh makeover; enjoy the new brew! ☕️
Posted by Lorenzo Orlando Caum

Authorize.net has announced that they are closing down their SIM service. Once the closure happens, then you won’t be able to accept online payments through Authorize.net SIM. Authorize.net has recommended their Accept product as a replacement for their SIM product and we’ve integrated with it with Event Espresso 4 by using their Hosted option through an iframe. With Authorize.net Accept, event organizers in the United States, Canada, United Kingdom, and Australia will be able to accept online payments for their registrations.
As a refresher, Authorize.net SIM is an offsite payment service. This means that a registrant or attendee is temporarily taken to a secure page on Authorize.net to make their payment and then they are returned to your website to view a confirmation of their registration.
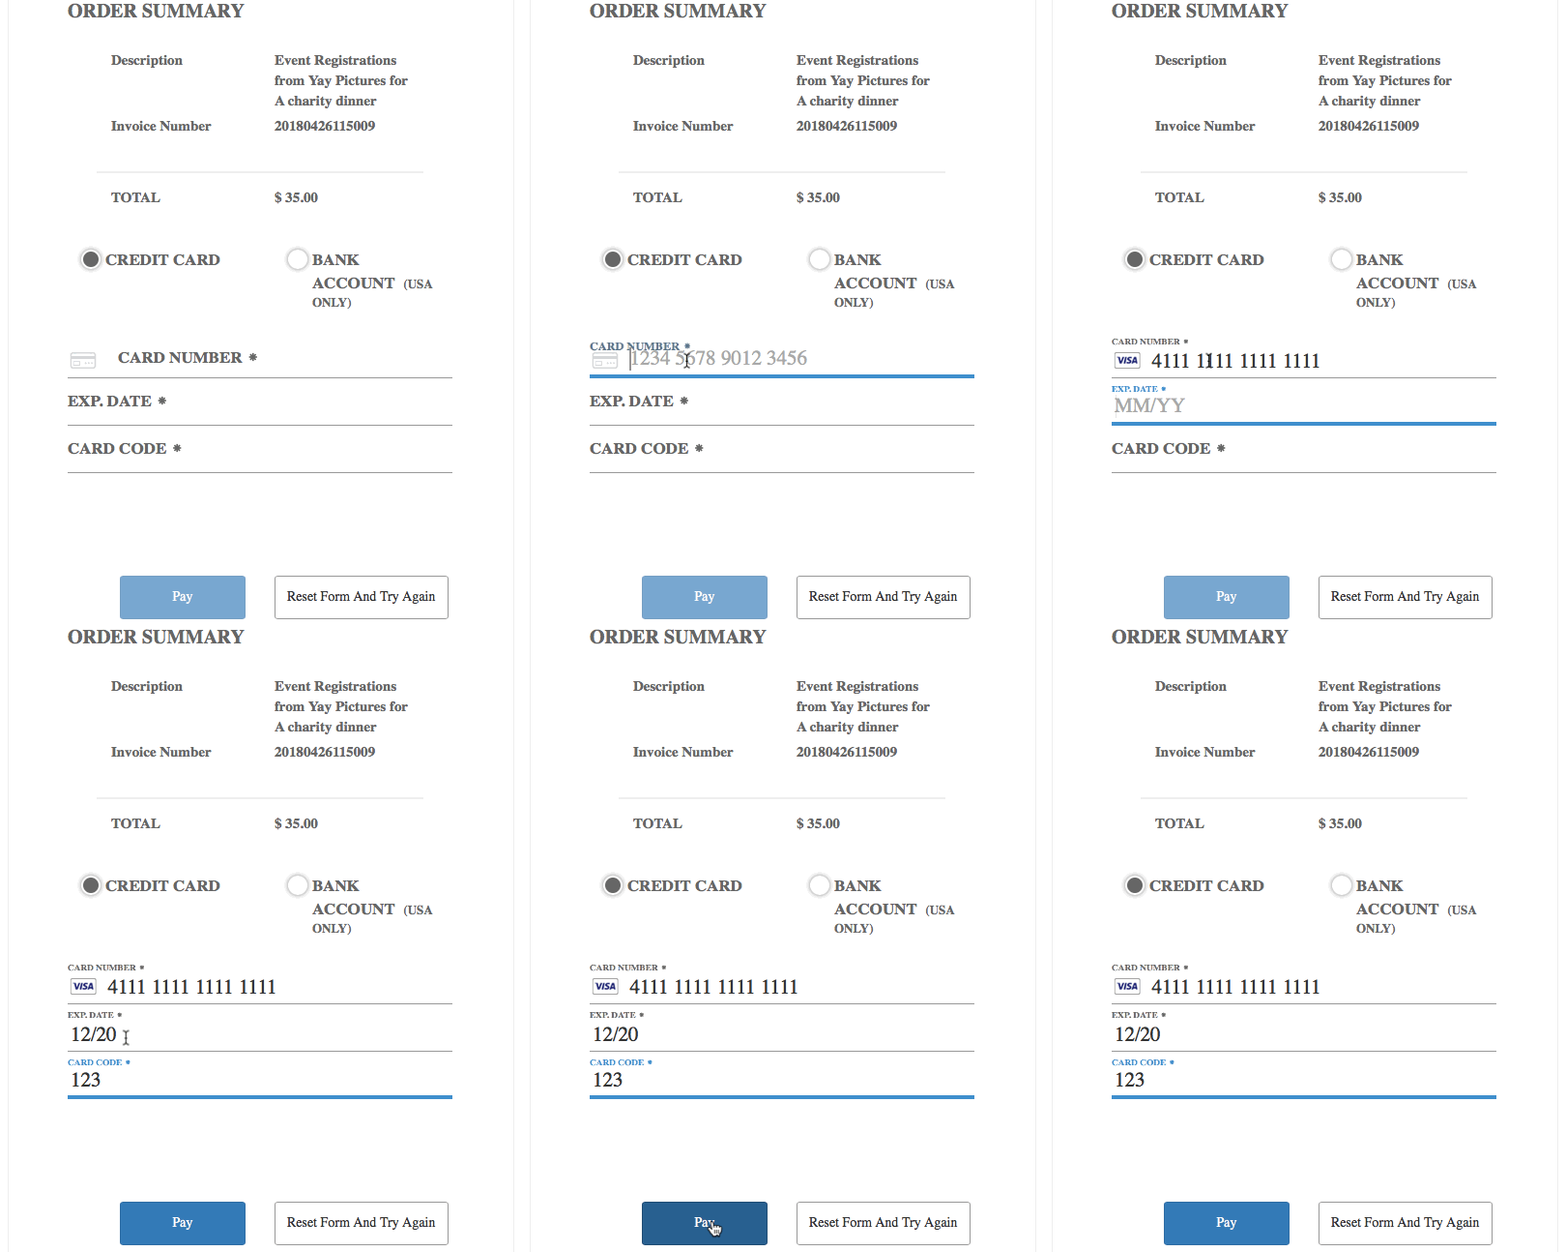
With Authorize.net Accept, a guest will pay on your website through an iframe. This has several benefits:

Here is a comparison of the registration flows between SIM and Accept (uses the Hosted option):
Authorize.net SIM1) A guest starts their registration from the event page by making a selection
2) They enter their registration information
3) They are sent to a page on Authorize.net to pay
4) The guest is returned to your website to view their confirmation
Authorize.net Accept Hosted1) A guest starts their registration from the event page by making a selection
2) They enter their registration information
3) They pay and see their confirmation on your website
There are less steps needed to register and pay which means a faster registration experience for your attendees and registrants.
We know that you want to minimize any downtime so you can continue accepting registrations and payments through Authorize.net.
If you are using Authorize.net SIM for Event Espresso 4, then here are important points to know:
If you do not see the new extension for Authorize.net Accept on your account on EventEspresso.com, and you believe that it should be there then please reach out through our contact page and a team member will check into this for you.
Here is an overview of the steps to make the switch to Authorize.net Accept. These steps will take 5 to 10 minutes to complete:
Moving forward, any new registrations will be processed using Authorize.net Accept via the Hosted option in an iframe. And your existing registrations will not be affected.
Here is some information to help you along.
I’m using Authorize.net AIM. Am I affected?
If you are using Authorize.net AIM, then you are not affected. This change affects you if you are using Authorize.net SIM.
I don’t have an SSL certificate on my WordPress website. What do you recommend?
An SSL certificate is required to use Authorize.net Accept. Please get in touch with your web host or hosting provider and they will be able to provide you with some options on adding an SSL certificate to your website.
Will my events or attendee information be lost?
Your events and attendee information will still be there when you transition to Authorize.net Accept.
I’m using Event Espresso 3 with Authorize.net SIM?
The new integration was created as an extension for Event Espresso 4. If you are using Event Espresso 3, then please reach out to our support team so we can help you move forward.
When will Authorize.net SIM stop working?
Once the date is known, then it will be available here.
If you are currently using Authorize.net SIM for Event Espresso 4, then we recommend being proactive and creating a plan to make the switch sooner rather than later. The process takes 5 to 10 minutes to complete. You’ll enable Transaction reporting in your Authorize.net merchant account, add the new extension/add-on to your website, copy over your credentials, and deactivate Authorize.net SIM.
Remember that if you have any questions, then you can get help by reaching out through our support channel for Event Espresso.
Additional source for Authorize.net
Photo by Eric Rothermel on Unsplash